Hey everybody I know it has been a while since my last post, but the reason for this is on the one hand a cold I had which struggled myself for at least two weeks, and on the other hand my first steps to the new R20 version of cinema 4d. It is always the point, that there is this time, when you know it is necessary to open the next door. In our case of cause the new version of cinema. There are major updates in this new version and the first ones really blew my mind. Using the new fields is as fascinating as using the new “Volume Builder Generator“. This is super-fast modeling while adding or subtracting one object with another. And when I say super-fast, everybody knows what I mean who worked with the bool object in the past. You are using 4 or 5 bool objects and suddenly the performance of the computer slows down as hell. But not with the “Volume Builder Generator“. I really would recommend everyone to take a look at the Greyscalegorilla’s Guide to Cinema 4D R20.
But now to the problem I realized working with the new system. First, I do not want to talk about how to use the builder itself as there are several tutorials out there. But at the end there is this problem you got your mesh and you want to texture every single part of the mesh. When you add a material to a child object of the volume builder it does not affect it. Why is that?
Well if you think about the system itself and how it works, it is quite clear. The volume mesher builds a new mesh using all these voxel fields, which are only fields and no objects. One way is to transfer the whole object to an editable object. Here you got your poly-model which is to be textured using poly selections. But the mesh-builder is gone, and you do not have the ability to make corrections or add new objects to your model-builder. So how to make your poly-selections and keep the mesh-system?
My solution is to use a correction deformer. Apply the correction deformer to the volume-mesher. After that click on the correction deformer, select your polys, freeze them. After that drag the poly-selection tag to the volume-mesher and apply the tag to the material… And voila, here is your selection without losing the ability to keep on working with the volume-builder…
Keep on mates and cheers neo.
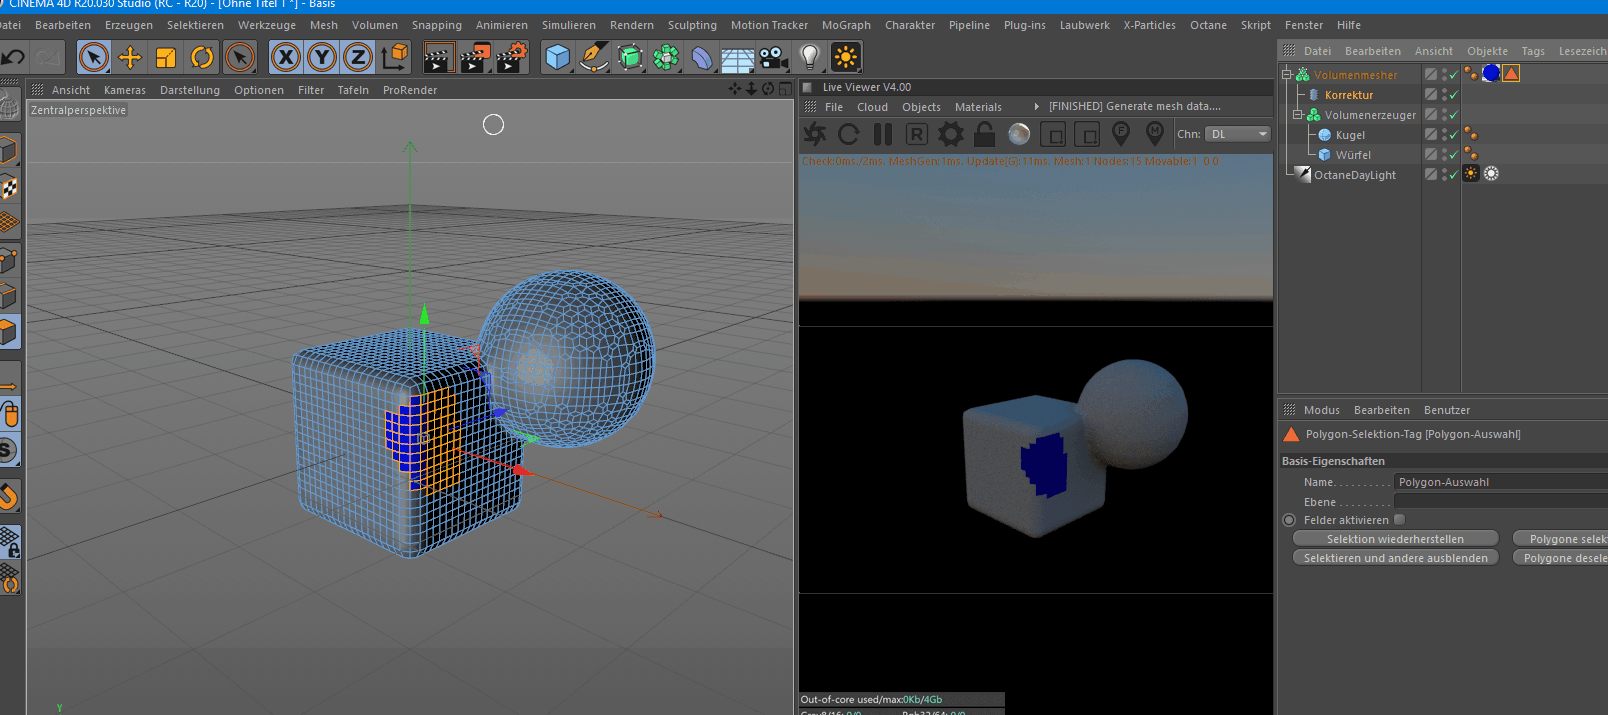
R20 volume mesher


12 Comments
Very well said, sir!
Excellent fix for that issue! Really nice that you can texture it and still keep it parametric.
Well done!
how you deal if the volume mesher have animations inside? i cant proyect a texture beacause the mesh are constantly creating polygons because the animation, this is one of my two problems, the other problem is that the uv projection is awfull. to put this question in context: im creating a ¨fluid¨ whit a sweep and a cylinder an a lot of deformers. and i cant proyect correctly the texture
I will check the animation handling soon and will post an update on that..
neo
Have you had a chance yet to look into an animated item? I have a mesh that is animated and once it goes into the Volume Mesher you can’t texture it. Thanks for any advice / help!
Will take a look at this soon mate.
Have you figured out a way to place a texture on the animated mesh as of yet?
don’t work for 4, it apply the material in a randowm way.
what am i doing wrong?
Do you mean Octane 4?
Hi there wondering if you have figured out a way to texture an animated object that has gone inside a volume builder as of yet? Anytime I place an texture in diffuse / bump or displacement it just “slides” through the texture. Triplanar (in the shader) or changing the projection type to cubic/cylinder / etc. all do not work.
Nice tip! Thks!
youre welcome
Can you get this to work with vertex maps, don’t seem to transfer?