Howdy everybody,
like i wrote in one of my last articles, my goal is to fill this site with new content from time to time.
Some of you contacted me on Instagram or Facebook and asked me to do stuff not only with octane render, as a lot of you only using cinema for rendering or redshift.
So for this time I decided to build a small outdoor scene. And for those of you who are interested in the “how can I make scenes like this on my own?” let me tell you some of my steps.


If you guys want me to do another tutorial like i did with the clean ship article, just leave a comment below this article, so I can decide in which way I can do such a tutorial.
But for now let me tell you some of the steps. I will keep the explanation short, so you can decide if it is useful for you. For those of you who are using octane render, the scene with gras and all the trees will be made with the octane scatter object. For all the others you will have to use the cinema cloner object.
Step 1 “the terrain”
Just build a plane in cinema and make it quite big. Then keep in mind the more polygons the plane got, the more detail you can achieve. But remember the more polygons the more power is needed for your computer.
plane for the terrain

the river

Step2 “the river”
Within cinema change the view to “sculpting”. After the change the view to top view and think about the river and its way on the terrain.
After that use the sculpting tool to build the river on the plane. Increase the polys for more detail if you need it. Keep in mind that most rivers have several river bends and are not straight from one side to the other. The more natural bends the better. After you have built the river change the view back to standard.
Step3 “the gras”
One strategy is to think about the areas on the plane, where the gras must be. It does not make sense to place gras on the whole terrain, as this would increase the amount of needed power for the computer for sure. How can we achieve that? Well change to poly mode, select the plane and use the selection tool to select al the polys, which are necessary for the gras. Add the camera and try finding a nice shoot along the river. Now we have the possibility of controlling the areas, where the content has to be and the areas, which might be empty.
Do not select polys, where the cameras are not pointing to or where the river is floating its way as there is no need for gras on the ground of the river. For optimal grass I would advice you to use Laubwerk or Forester.

gras cloner settings

gras settings

Step4 ”the first cloner”
First things first. So let´s begin with the nature stuff. We create a cloner object. For the modus we choose “object”. Now let us take the terrain poly selection for gras and put it into the object field of the cloner. For Distribution we choose “Surface” and voilà the gras appears on the selected polys of the terrain. No gras at all you say? Well that´s because of the need to make a gras plant child to the cloner. And now the cloner begins with his work of cloning the gras.
Do not forget to change the instance mode to “Render Instance” as we do not want cinema to get that slow. When we take a closer look at the gras, we can see less nature than we thought. Every grass looks the same. In order to give them more look like the wild nature, we add a random effector to the cloner.
Let´s change the position in x and z (not y). Change the scaling 0.4 (uniform scaling). Finally change the rotation (but not for “p”) otherwise the plants will rotate upside down.
Yeah this looks quite good. If your computer can handle it, duplicate the cloner and the random effector. Do not forget to link the duplicated effector to the duplicated cloner. Now change the values for the randomness and it should be fine.
Step5 (cloner after cloner)
Now that we got grass, let us keep on with the trees. As for the grass I would recommend Laubwerk or Forester for the trees as well.
O.K. and what next? Well first let us think about where the trees should be. Keep in mind only to place trees in the view part of the cam. So let us select the plane of the terrain and change into poly mode. Select the top view and use the selection tool to make a poly selection for the trees. Be aware of not overwriting the previous selection for the gras. You must deselect the grass selection in order to prevent overwriting the grass selection with the new selection for the trees. Now duplicate one of the cloner for the grass. Change the child from grass plants to some nice trees. Change the object field from the grass selection to the new tree selection. Now we got some nice trees.
tree poly selection

cloner for the trees

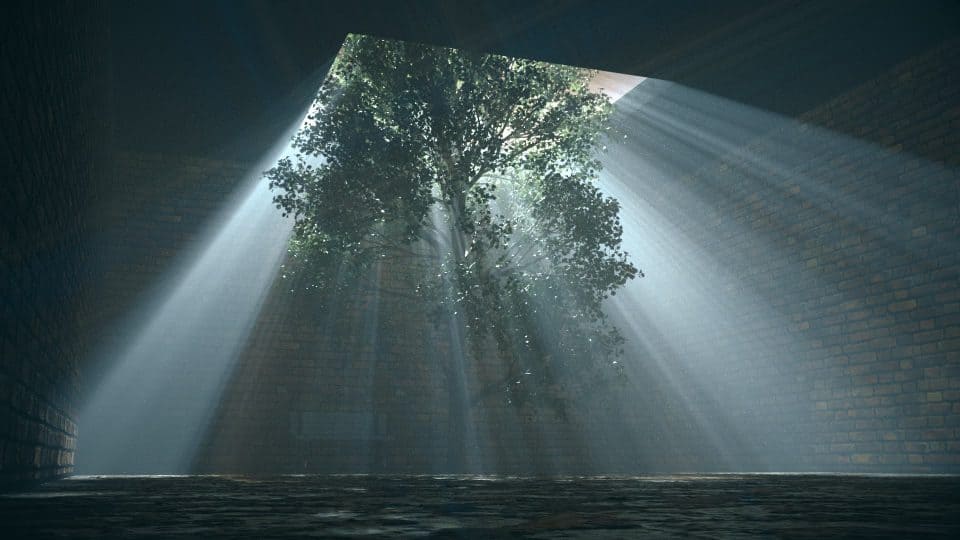
Last step “environment”
O.K. we have a camera, the terrain plane, we got grass, a river and trees. Anything we should add?
Of course, we must add two last important things. “Light and sky”.
For the sky I often use HDRI Link from Greyscalegorilla with the 12k sky packs. This HDRI package is fabulous for all kinds of outdoor lightning.
Now that we have a nice sky, let us add a daylight. Keep tweaking with the values for sun and shadows. The bigger the sun, the sharper the shadows.
That´s it! I know it´s a bit difficult as some of you use redshift, some other use octane and some more neither octane nor redshift but cinema. I hope you like this small picture tutorial and please leave a comment for this article on https://neo3d.eu
Cu neo…

2 Comments
Really well written!
Love the pictures and step by step setup on this. It made it really easy to follow along! Thanks for sharing :)!
Thx man…